Delicious Vintage Christmas Cake Dip Cups: Your Holiday Showstopper
Why This Festive Dessert Will Delight Your Guests
The holiday season is all about bringing loved ones together, and what better way to ignite that festive spirit than with Vintage Christmas Cake Dip Cups? Imagine the warmth of a cozy kitchen filled with the scent of spices mingling with the joyful chatter of family and friends. This delightful dessert not only adds a splash of color to your holiday table but also brings a sense of nostalgia that will transport your guests back to simpler times.
These dip cups are a fun twist on classic Christmas cake, offering the rich flavors of dried fruits, warm spices, and a creamy texture that invites everyone to dive right in. Serve them in cute, individual cups, and watch as your guests scoop up each layer, savoring every bite. They’re the perfect balance of indulgence and holiday cheer—plus, you won't find any last-minute difficulties making them!
A Nostalgic Treat with a Modern Twist
As a food enthusiast, some of my fondest memories revolve around baking during the holidays. The secret to these Vintage Christmas Cake Dip Cups lies in blending traditional flavors with a contemporary presentation. You can use a creamy dip base—think mascarpone or cream cheese combined with a touch of vanilla—and then layer in all those beloved Christmas cake ingredients. Dried cherries, zesty citrus peels, and a hint of cinnamon create the perfect harmony of flavors.
Not sure where to start? Here’s a tip: customize the ingredients! If you dislike certain dried fruits, swap them out for others you prefer, like raisins or even chopped nuts for added crunch. And if you need a nut-free version, simply omit those altogether.
Don’t forget to garnish! Top with crushed pistachios or a sprinkle of powdered sugar to make these cups sparkle like fresh snowfall. It’s this combination of old and new that makes these dip cups not just a dessert but a lovely trip down memory lane, revitalized for this era. So, are you ready to impress your guests this holiday season? Dive into the festive cheer with these delightful treats, and watch the smiles unfold!
Ingredients Needed for Vintage Christmas Cake Dip Cups
Key Ingredients for the Creamy Cake Dip
To whip up these delightful Vintage Christmas Cake Dip Cups, you'll need a blend of simple yet nostalgic ingredients that capture the essence of holiday cheer. Here’s what you’ll need:
- Cream Cheese (8 oz): The heart of your dip, giving it that rich and creamy texture. Make sure it’s softened for easy mixing.
- Powdered Sugar (1 cup): A touch of sweetness to balance the cream cheese — it dissolves beautifully into the dip.
- Vanilla Extract (1 teaspoon): Just a splash enhances the flavor and adds that warm, comforting aroma.
- Cinnamon (½ teaspoon): A classic holiday spice that brings warmth and nostalgia. If you’re feeling adventurous, a pinch of nutmeg or allspice can elevate the flavor.
- Chopped Dried Fruit (½ cup): Think raisins, apricots, or cranberries. They provide a sweet chewiness that complements the creamy dip perfectly.
- Crushed Walnuts or Pecans (½ cup): For texture and that nutty flavor that screams festive!
Feel free to adjust the sweetness or spices according to your personal taste. You could even use a nut-free alternative, swapping out nuts for toasted coconut if desired!
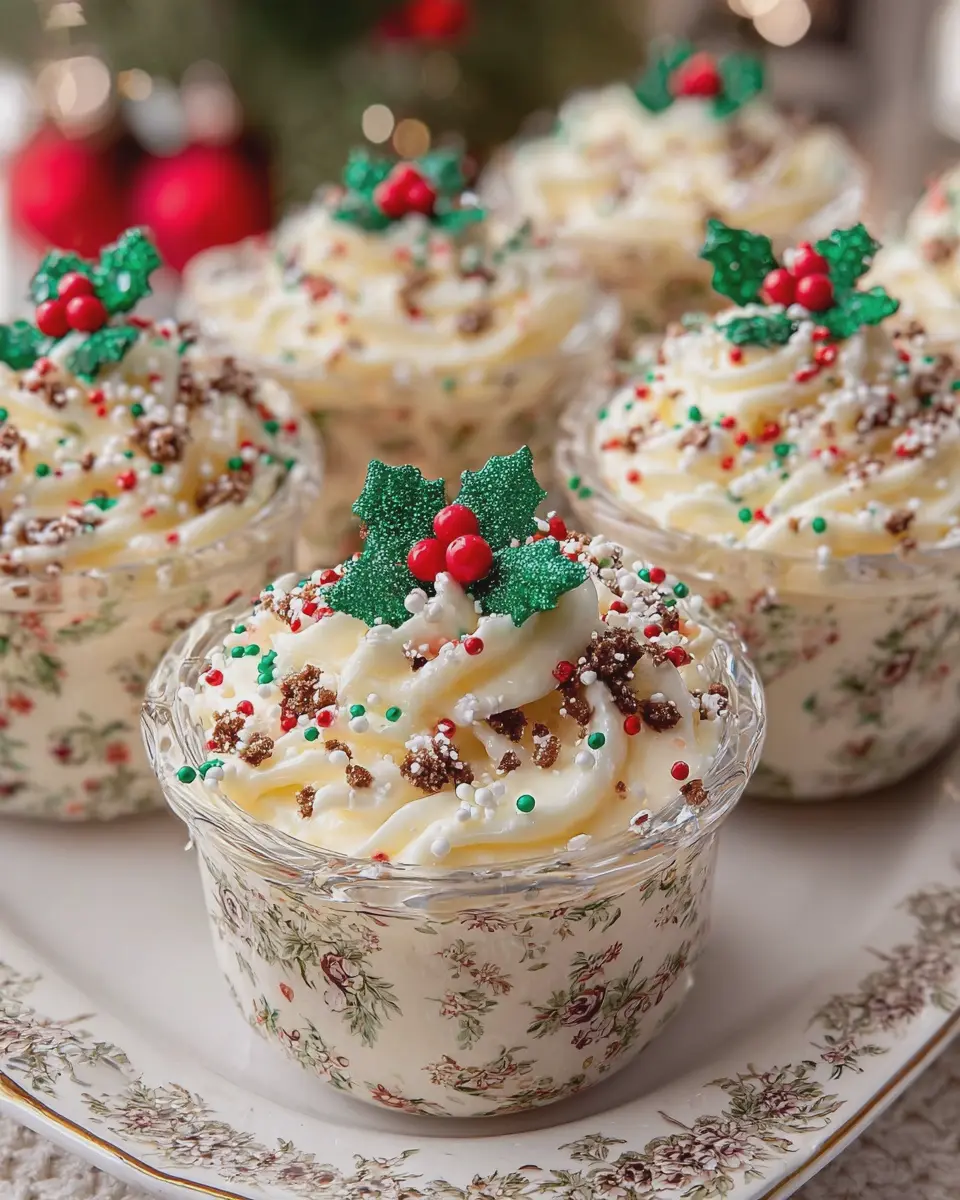
Decorative Elements to Make It Festive
Once your dip is ready, let’s talk presentation! To give your cups that extra holiday flair, consider these decorative touches:
- Graham Cracker Crumbs: Line the bottoms of your cups with crushed graham crackers. It not only adds crunch but also looks gorgeous against the creamy dip.
- Whipped Cream: A dollop on top makes everything feel a little more special (and indulgent!).
- Sprinkles: Grab some holiday-themed sprinkles or edible glitter for that extra sparkle.
- Fresh Mint Leaves: A few mint leaves can brighten up the serving and give a pop of color.
The beauty of these Vintage Christmas Cake Dip Cups lies not just in their taste but also in how you present them. Imagine serving them at a holiday gathering, the vibrant cups bringing smiles and anticipation—definitely a memory in the making!
Essential Kitchen Tools for Making Cake Dip Cups
Must-Have Tools for Easy Preparation
Creating delightful Vintage Christmas Cake Dip Cups doesn't require a long list of complicated gadgets, which is a breath of fresh air! Here are some essential tools you’ll want to have on hand for effortlessly whipping up this charming dessert:
- Mixing Bowls: A set of various-sized mixing bowls is indispensable. Use larger bowls for combining the base ingredients and smaller ones for any mix-ins or toppings.
- Electric Mixer: A handheld electric mixer will make ensuring your cream cheese and whipped topping are perfectly blended a breeze.
- Measuring Cups and Spoons: Precision is crucial in baking and mixing, so gather both dry and liquid measuring tools. You’ll need them for accurately measuring cream, sugar, and any spices.
- Spatula: A good spatula is key for folding ingredients together gently, allowing you to keep that airy texture intact.
Recommended Equipment for Perfect Results
For those who want to elevate their cake dip-making experience, consider adding these recommended items to your kitchen lineup:
- Serving Cups or Jars: These not only present your cake dip beautifully but also keep your portions perfectly sized. Think about using clear glass jars to showcase those delectable layers!
- Piping Bag: If you’re feeling fancy, a piping bag will help you create stunning, swirled layers of cake dip.
- Offset Spatula: This handy tool will be your best friend for smoothing out dips in those jars—allowing for that picture-perfect finish.
Remember, while these tools will enhance your comfort and creativity in the kitchen, the magic truly happens when you pour your heart into each cup. Happy dipping!
Step-by-Step Instructions for Crafting Vintage Christmas Cake Dip Cups
Creating Vintage Christmas Cake Dip Cups is a delightful way to bring nostalgic flavors to your holiday gatherings. Let’s dive into the crafting process with step-by-step instructions that are not only easy to follow but also filled with love and warmth.
Step 1: Preheat Your Oven for the Cake Mix
Start by preheating your oven to 350°F (175°C). This step is crucial because a hot oven ensures even baking and that our cake mix rises beautifully. As you wait for the oven to warm, you’ll find it gives you just enough time to gather and prepare your ingredients.
Step 2: Heat-Treat the Vanilla Cake Mix
Now, grab that box of vanilla cake mix. We're going to heat-treat it to reduce the chance of any raw flour taste. Spread the cake mix onto a baking sheet and pop it into the oven for about 5-7 minutes. This simple step not only enhances the flavor but also gives our dip a richer depth. Just remember to let it cool a little before moving on.
Step 3: Prepare the Cream Cheese Base
While your cake mix cools, let's make the cream cheese base. In a large mixing bowl, beat together 8 oz of cream cheese, softened to room temperature, with half a cup of confectioners' sugar until it’s smooth and creamy. Personally, I love how the sweetness of the sugar balances the tanginess of the cream cheese. It creates a decadent, dreamy foundation for our dip!
Step 4: Combine Ingredients for Creamy Perfection
Now, it's time to add the star players! Beat in the cooled cake mix into the cream cheese mixture along with a splash of vanilla extract. Just envision that lovely contrast of texture: crumbly cake mix blending seamlessly into the creamy base. Take a moment to appreciate that rich aroma that fills your kitchen—it’s pure holiday spirit!
Step 5: Add Heavy Cream for a Luxurious Texture
To elevate that creamy texture, pour in one cup of heavy cream. Using a hand mixer, whip it until soft peaks form. This step is vital for ensuring that our dip has that luxurious mouthfeel. I often find myself tasting little spoonfuls throughout this process—don’t say I didn’t warn you!
Step 6: Fold in Fluffy Whipped Topping
Next, gently fold in about 8 oz of whipped topping into the mixture. This adds an airy lightness that contrasts beautifully with the rich cream cheese base. Just be careful not to overmix; we want to keep that fluffy texture intact. It reminds me of the softest clouds during a brisk winter day.
Step 7: Incorporate Those Festive Christmas Sprinkles
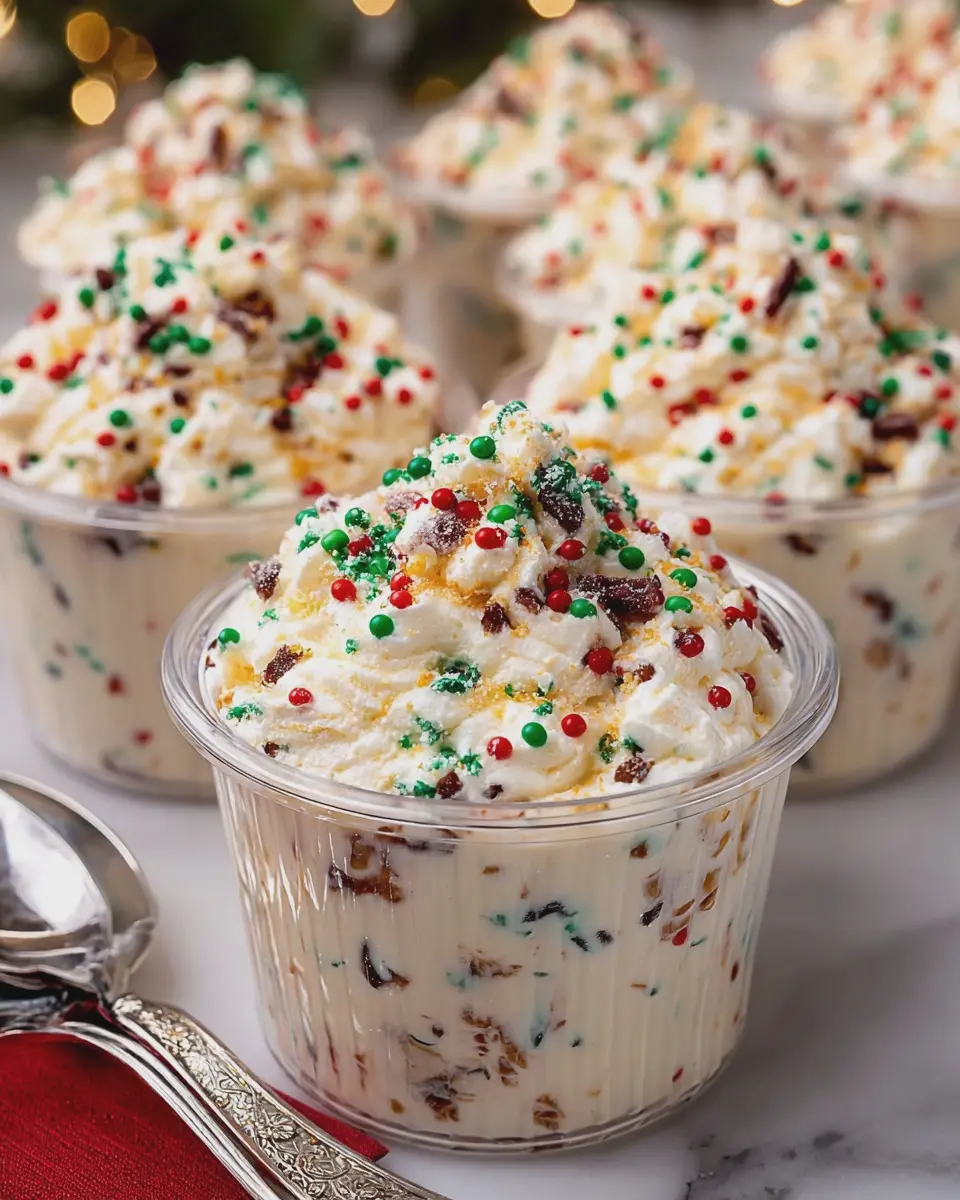
Now comes the fun part: fold in about a half cup of your favorite festive Christmas sprinkles. Whether you choose classic red and green or opt for something more colorful, sprinkles always bring a rush of holiday cheer. They’re like little bits of joy hidden in every scoop!
Step 8: Transfer to Dessert Cups with Style
As you transfer your luscious dip into small dessert cups—think clear glass or festive ceramic—you’ll want to use a spatula for easy scooping. I enjoy layering the dip for a beautiful presentation, alternating between the dip and some additional sprinkles or crumbled cake mix. Not only does it look impressive, but it also teases everyone’s taste buds.
Step 9: Top with Sprinkles for Extra Holiday Cheer
Don’t forget that last sprinkle of magic! Top each cup with a few extra sprinkles. This small detail not only adds to the visual appeal but also makes each cup feel special. It’s like dressing up for an exciting holiday party!
Step 10: Chill to Bolster Flavor and Texture
For the best experience, cover your dessert cups with plastic wrap and chill them in the refrigerator for at least 1-2 hours—but overnight is even better! This step allows the flavors to meld beautifully and the dip to thicken slightly, making for an even more satisfying treat.
Step 11: Serve and Enjoy the Holiday Hubub
Finally, gather around your lovably bustling holiday table and serve these Vintage Christmas Cake Dip Cups with a smile. Watching everyone’s eyes light up as they take that first bite is what the holidays are all about, right? Pair this dip with graham crackers, vanilla wafers, or even fresh fruit, and enjoy the laughter and joy that fills the room. Happy holiday dipping!
Expert Tips for Making the Best Cake Dip Cups
Making Vintage Christmas Cake Dip Cups is a delightful endeavor, but a few expert tips can elevate your dessert game. Let’s dive into some essential details to help you create a perfectly creamy and enjoyable treat.
Texture Tips for a Creamy Dessert
The key to that luxurious, creamy texture lies in your mixing technique. Start with room-temperature cream cheese and mascarpone, which makes blending easier and prevents lumps. Use an electric mixer for a smooth consistency, and don’t rush the process—mix until it’s perfectly fluffy. If you prefer a lighter texture, gently fold in whipped cream at the end. This not only adds air but also an irresistible lightness.
Ingredient Swaps That Work Well
Don’t have mascarpone on hand? No problem! You can substitute it with a blend of cream cheese and a dollop of sour cream. If you’re aiming for a healthier version, try Greek yogurt—it’ll still provide creaminess with a touch of tang. Also, for a sweeter touch, consider using flavored cream cheese like vanilla or almond.
How to Keep Your Dip Light and Fluffy
To maintain that airy feel, avoid overmixing once you've added your whipped cream. Think of it like folding in a gentle hug! Adding a splash of heavy cream can also help achieve that delicate balance. Just remember: gentle is the name of the game here.
Additional Decorations for a Beautiful Presentation
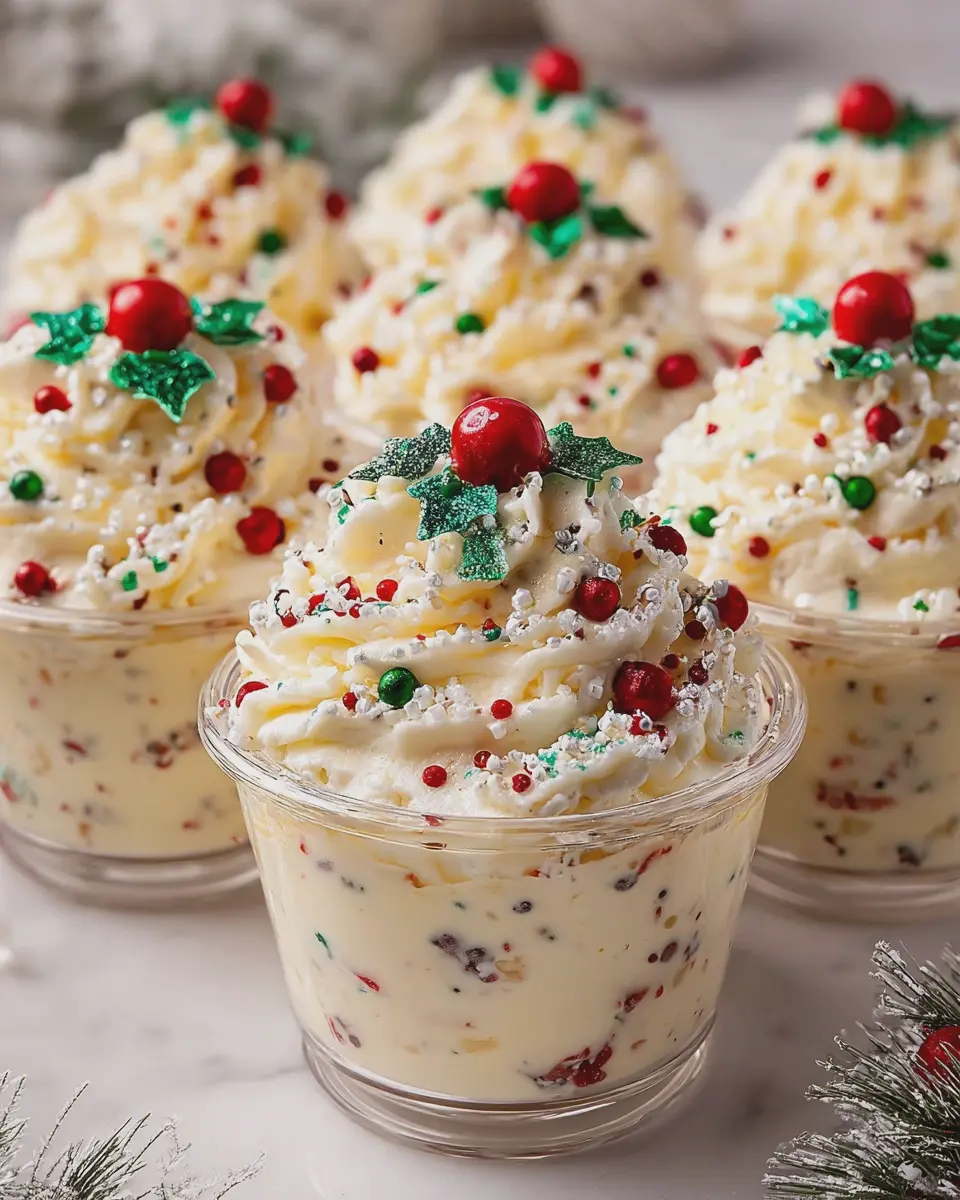
Presentation can turn your Vintage Christmas Cake Dip Cups into a stunning centerpiece. Top each cup with crushed gingerbread cookies or a sprinkle of festive, colorful sprinkles. A few slices of candied fruits or a sprig of mint can lend a pop of color, making your dessert even more inviting. Serve them in clear glass cups to showcase those beautiful layers—because who doesn’t love a feast for the eyes?
These tips and tricks will set you on the path to impressing your guests (or yourself!) with a dessert that feels as special as it tastes. Enjoy the process and, most importantly, have fun creating these delightful little treats!

Vintage Christmas Cake Dip Cups: Easy Holiday Treats to Delight
- Total Time: 1 hour 20 minutes
- Yield: 4 servings
- Diet: Vegetarian
Description
A delightful and easy-to-make dessert that captures the essence of vintage holiday flavors in a charming dip cup.
Ingredients
- 1 cup cream cheese
- ½ cup powdered sugar
- 1 teaspoon vanilla extract
- 1 cup whipped topping
- 1 cup crumbled cake (any vintage recipe)
- ½ cup chocolate chips
- ¼ cup chopped nuts
- ¼ cup sprinkles
Instructions
- In a mixing bowl, combine the cream cheese, powdered sugar, and vanilla extract. Beat until smooth.
- Fold in the whipped topping until fully combined.
- Layer the crumbled cake at the bottom of individual cups.
- Add a layer of the cream cheese mixture over the cake.
- Top with chocolate chips, chopped nuts, and sprinkles.
- Repeat the layers until cups are filled.
- Chill in the refrigerator for at least 1 hour before serving.
Notes
- These dip cups can be made a day in advance for convenience.
- Feel free to customize toppings based on your preference.
- Prep Time: 20 minutes
- Category: Dessert
- Method: No-bake
- Cuisine: American
Nutrition
- Serving Size: 1 cup
- Calories: 250
- Sugar: 15g
- Sodium: 150mg
- Fat: 18g
- Saturated Fat: 10g
- Unsaturated Fat: 5g
- Trans Fat: 0g
- Carbohydrates: 20g
- Fiber: 1g
- Protein: 2g
- Cholesterol: 30mg