
Why You’ll Love Ube Cheese Pandesal
A Delightful Twist on a Classic Filipino Bread
If you’ve ever encountered pandesal, you know it’s a beloved staple in Filipino households, perfect for breakfast or a midday snack. Now, imagine that comforting, slightly sweet bread, but with a gorgeous twist: the deep purple hue of ube mixed with creamy cheese. That’s what Ube Cheese Pandesal brings to your table! Not only does it look stunning, but it also elevates the classic recipe into an experience that dances between nostalgia and creativity.
By incorporating ube—a popular Filipino root vegetable with its unique sweet, nutty flavor—you’re not just adding color; you’re enriching the taste profile. And let’s not forget the melted cheese inside each warm, fluffy roll. As you pull apart a fresh pandesal, the cheese stretches delightfully, giving you a cozy feeling, much like coming home after a long day.
This recipe embraces the essence of Filipino baking while inviting a new generation to enjoy something reminiscent yet fresh. Whether you serve them at a gathering or just as a treat for yourself, these ube cheese-filled delights are sure to impress, prompting your friends and family to ask for seconds (or thirds!).
Sensory Experience: Taste and Texture
What makes Ube Cheese Pandesal truly special is the symphony of taste and texture. With every bite, you’re greeted by the warm, slightly crisp crust that gives way to a light, soft, and airy interior. The subtle sweetness of the ube pairs exquisitely with the saltiness of the cheese, creating a perfect contrast that leaves your palate intrigued.
Imagine that moment: you take a bite, and the warmth envelops you, the flavors meld beautifully, and the aroma that wafts through your kitchen is simply irresistible. Each roll is an invitation to slow down and enjoy the simple pleasures of life, whether it’s slathering on butter, enjoying it with a hot cup of coffee, or just savoring it straight from the oven.
Cooking this dish may even evoke fond memories—perhaps of a family gathering or lazy Sunday mornings in the Philippines. That’s the magic of food, right? It brings us together. If you ever find a batch left over (which is unlikely!), they can be stored in an airtight container for a day or two, but trust me, they taste best fresh out of the oven.
As you embark on this culinary adventure, don’t hesitate to get a bit messy—flour on your apron and bits of dough on the counter are all part of the charm of homemade cooking. So roll up your sleeves, and let’s get started on making this delightful version of your favorite bread!
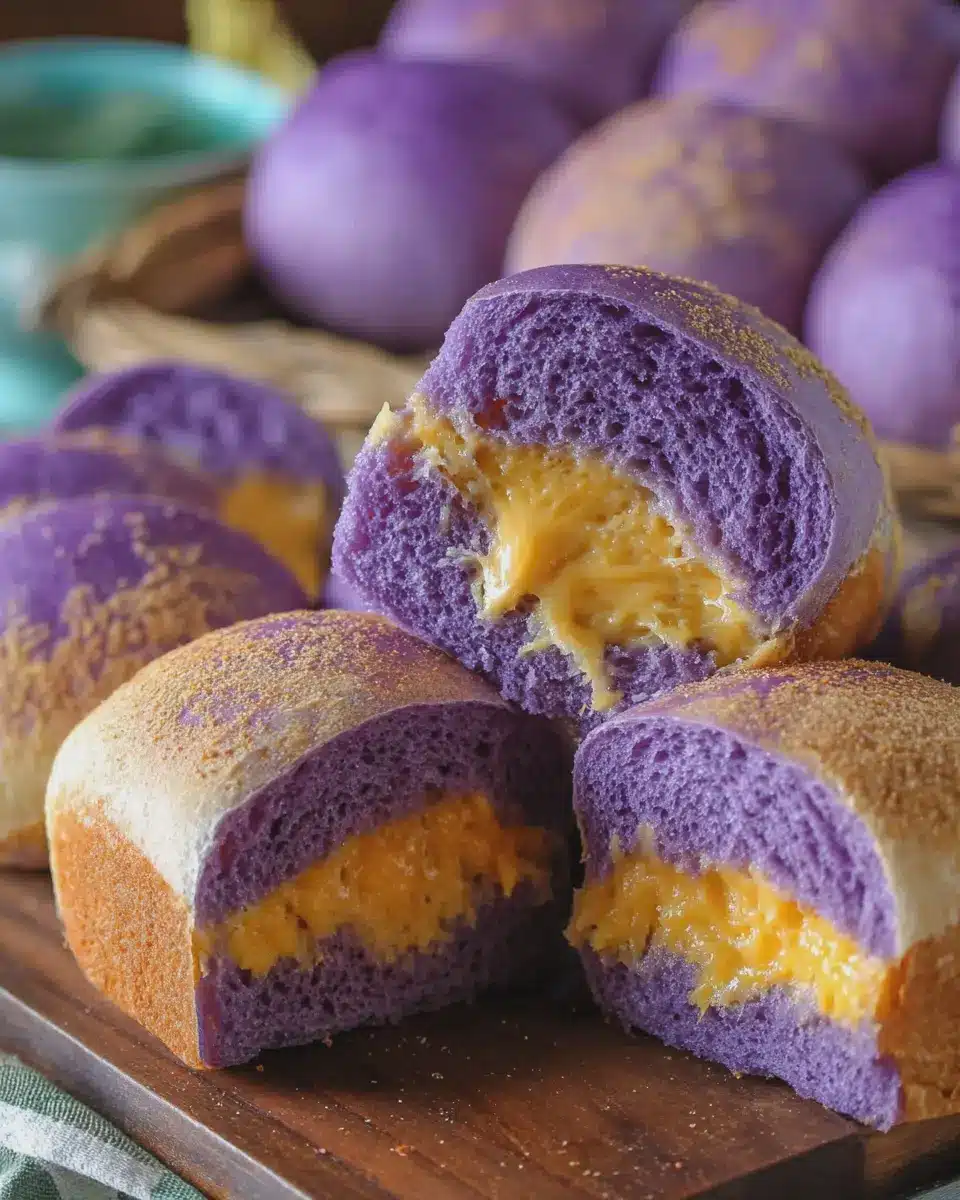
Ingredients You’ll Need for Ube Cheese Pandesal
Creating ube cheese pandesal involves a delightful mix of essential ingredients that come together to create that perfect fluffy bread with a rich, cheesy filling. Ready to dive in? Let’s break it down!
Essential Ingredients for the Dough
To whip up a batch of these heavenly rolls, here’s what you’ll need for the dough:
- All-purpose flour: 4 cups for that perfect fluffy texture.
- Sugar: ¼ cup, because a hint of sweetness balances the ube.
- Yeast: 2 teaspoons of active dry yeast, the magic ingredient that helps our pandesal rise beautifully.
- Milk: 1 cup of warm (not hot) milk to activate the yeast and add moisture.
- Butter: ¼ cup, for that rich flavor and soft texture.
- Salt: 1 teaspoon to enhance all the flavors.
If you find yourself short on all-purpose flour, you can try substituting half of it with bread flour for extra chewiness.
Must-Have Fillings for Extra Flavor
The magic really happens when you start stuffing this dough. Here’s what you’ll need to create that unmistakable ube cheese flavor:
- Ube halaya (purple yam jam): About 1 cup, to infuse a sweet, earthy flavor and that stunning purple color.
- Cheese: 1 cup of grated sharp cheddar cheese or any cheese you love. The gooey richness is what makes each bite a delight!
Imagine biting into the warm, fluffy bread and pulling apart the strings of melted cheese — pure bliss! If you can’t find ube halaya, consider using ube powder and mixing it with a little water and sugar for a makeshift filling.
Optional Toppings to Enhance Presentation
For those of you who love a bit of visual flair, why not jazz up your ube cheese pandesal with some fun toppings? Here are a few ideas:
- Breadcrumbs: Coat the tops of your dough balls with breadcrumbs before baking for an extra crispy texture.
- Butter: Brushing the tops with melted butter as they come out of the oven not only adds flavor but also gives them a shiny finish.
- Sesame seeds: Sprinkle some sesame seeds for a nutty crunch that complements the soft bread.
Cooking is all about personal touches! Feel free to get creative in the kitchen and make this recipe your own. Once you’ve gathered these ingredients, you’re all set for a baking adventure. Happy cooking!
Essential Kitchen Tools for Baking Ube Cheese Pandesal
When it comes to whipping up a batch of delightful ube cheese pandesal, having the right kitchen tools can make all the difference. Let’s break down the essentials you’ll need for a smooth baking experience.
Mixing and Measuring Tools
First off, accurate measuring is key to achieving the perfect dough consistency. A sturdy set of measuring cups and spoons (preferably dry for flour and liquid for milk) will serve you well. I also recommend a quality kitchen scale for precise measurements—especially important when working with flour. A reliable mixing bowl is essential; I love using glass for its durability and easy cleanup. And don't forget a spatula for scraping every bit of that ube mixture out of the bowl!
Baking Equipment for Perfect Results
To bake your pandesal to golden perfection, a non-stick baking sheet is a must. If you have parchment paper on hand, it can help prevent sticking and ensure even baking. If you're feeling adventurous, a silicone baking mat can be another fun option! For shaping the dough, a rolling pin will come in handy—there's something so satisfying about rolling out dough, don’t you think? Lastly, an oven thermometer is invaluable in ensuring your oven is at the right temperature, especially since baking can be finicky.
Storage Containers for Freshness
Once you’ve baked your delicious ube cheese pandesal, you'll want to keep them fresh for as long as possible. Invest in some airtight containers or resealable bags. I often use glass containers with tight-fitting lids; they not only keep your pandesal fresh but also make for an eye-catching display on your kitchen counter. If you bake a large batch and want to save some for later, consider freezing them! Just wrap each one tightly in plastic wrap before placing them in a freezer bag—this way, they’ll taste just as delightful when you pull them out later.
With the right tools at your disposal, you’ll not only make baking more enjoyable but also elevate the quality of your ube cheese pandesal. Happy baking!
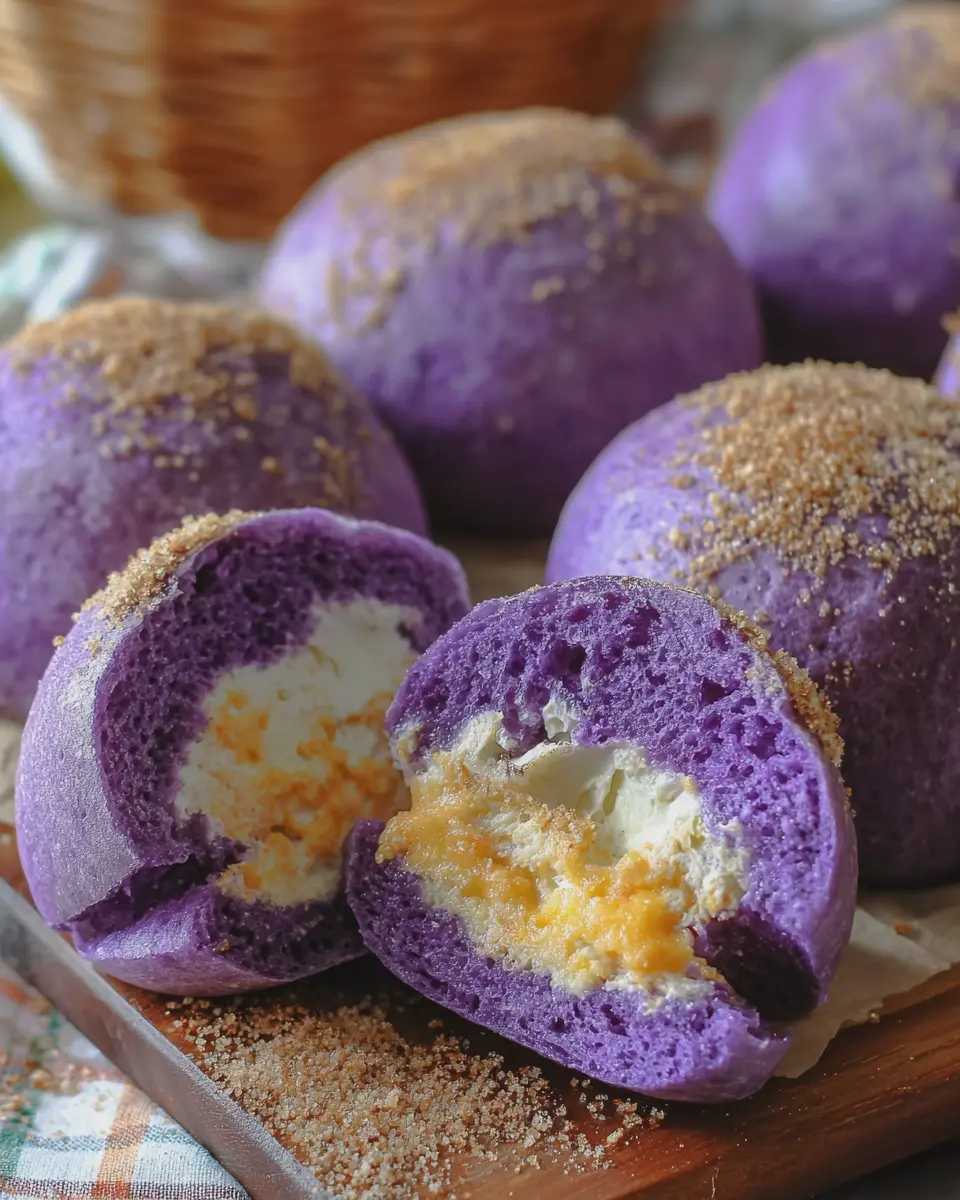
Step-by-Step Instructions: How to Bake Ube Cheese Pandesal
Preparing the Yeast Mixture for Optimal Rise
Starting with the yeast is crucial because it kickstarts the whole process. Trust me, you don't want to skip this step! For this Ube Cheese Pandesal, we want our yeast mixture to be as lively as possible.
- In a small bowl, combine 2 teaspoons of sugar and 1 packet (2 ¼ teaspoons) of active dry yeast. The sugar will feed the yeast, helping it to foam.
- Next, add 1 cup of warm water (ideally between 100°F to 110°F or 37°C to 43°C). This temperature helps activate the yeast without killing it. Let it sit for about 5-10 minutes until it becomes frothy. If it doesn’t bubble up, your yeast may be inactive. Don’t fret; grab a new packet and try again!
- Once it’s ready, take a moment to enjoy the aroma of yeast mingling with sugar—it's a beautiful sign of deliciousness to come.
Crafting the Dough: Mixing and Kneading Tips
With our yeast mixture bubbling away, it’s time to create the dough! This is where the magic starts to happen.
- In a large mixing bowl, combine 2 ½ cups of all-purpose flour, ½ cup of ube halaya, and a pinch of salt. I recommend using a measuring cup for accuracy, as it can make a difference in texture.
- Pour in your yeast mixture and stir gently with a spatula until everything is combined. It should gather into a shaggy dough.
- Now comes the fun part—kneading! Transfer the dough to a floured surface and knead for about 8-10 minutes. You’re looking for a smooth, elastic texture. It’s a good workout, and the aroma will give you that warm, cozy feeling.
- If the dough is too sticky, add a little flour, but be cautious; you want it to stay soft and pliable, which is key for fluffy pandesal.
Shaping Your Pandesal: Techniques and Tricks
Now that we have our beautiful dough, it's time to shape those little balls of joy!
- After kneading, place the dough in a greased bowl and cover it with a clean kitchen towel. Let it rise in a warm place for about 1 hour, until it has doubled in size. It’s like giving your dough a cozy blanket.
- Once risen, gently punch down the dough to release the air. Turn it out onto a floured surface and divide it into 12-15 equal pieces.
- When shaping, fold the edges into the center and gently roll each piece into a ball. The goal is to keep some of that fluffy texture inside. As you shape them, think about how you'll enjoy these delicious treats!
- Finally, roll each ball in fine breadcrumbs before placing it on a lined baking sheet—this gives that classic pandesal crust.
The Second Rise: Why It’s Important for Fluffiness
Now, I need you to be patient for this next step. The second rise is crucial for achieving that light, fluffy texture that we all love in pandesal.
- Cover the shaped pandesal again with a clean towel and let them rise for an additional 30-45 minutes. This allows them to puff up beautifully.
- While you wait, feel free to daydream about the ube and cheese filling that awaits! The excitement is half the fun, right?
Baking to Perfection: Temperature and Timing Tips
Okay, we’re almost there! Preheat your oven to 375°F (190°C). Your kitchen should start smelling incredible! Here’s how to bake these beauties to perfection:
- Once preheated, pop the baking sheet into the oven and bake for 15-20 minutes, or until they’re golden brown. Keep an eye on them; every oven is a little different!
- I often recommend rotating the baking sheet halfway through for even baking.
- When they’re done, the aroma of ube and melted cheese will fill the air. Remove them from the oven and let them cool slightly before indulging.
And voilà! You now have fluffy, delicious Ube Cheese Pandesal, perfect for breakfast, snacks, or just because! Enjoy them fresh, or store any leftovers in a container for a few days. Though let’s be honest; leftovers rarely happen!
Expert Tips for Baking the Best Ube Cheese Pandesal
Achieving the Perfect Texture and Flavor
To create ube cheese pandesal that’s delightful and satisfying, focus on the dough’s hydration. Aim for a slightly sticky consistency; this helps achieve that soft, fluffy texture we all adore. Using fresh ube, if possible, gives your pandesal a wonderful color and deep flavor. If you’re using ube extract instead, choose a high-quality brand to ensure richness.
Don’t skip the resting time! Allowing the dough to rise until it doubles in size not only boosts the flavor but also contributes to the airy texture. And when you add the cheese, be generous! A mix of sharp cheese with milder varieties can create a delicious flavor contrast that complements the sweetness of the ube.
Common Issues and How to Troubleshoot Them
If your pandesal doesn't puff up as expected, it might be due to the yeast being expired or the environment being too cold for rising. Always check your yeast before use; it should be frothy if it’s still good. If your dough feels too dry, a splash of milk or water can help bring it back to life.
Another common hiccup is a crust that’s too hard. This can happen if the oven is too hot. Using an oven thermometer can ensure you’re baking at the right temperature. If your pandesal turns out dense, it might be due to inexact measurements. Baking is a science, so be sure to measure both flour and liquid accurately.
Baking Ahead: Tips for Time-Saving Preparation
Want to prep ahead? Make your dough the night before! After kneading, simply form the dough into balls, place them on a baking sheet, cover with plastic wrap, and refrigerate overnight. When you’re ready to bake, just let them come to room temperature and rise before baking.
You can also freeze unbaked pandesal. After shaping them, flash-freeze on a baking sheet until solid, then transfer to a zip-top bag. When you're ready to enjoy some warm pandesal, just bake directly from the freezer—just add a few more minutes to the baking time for that perfect warm treat.
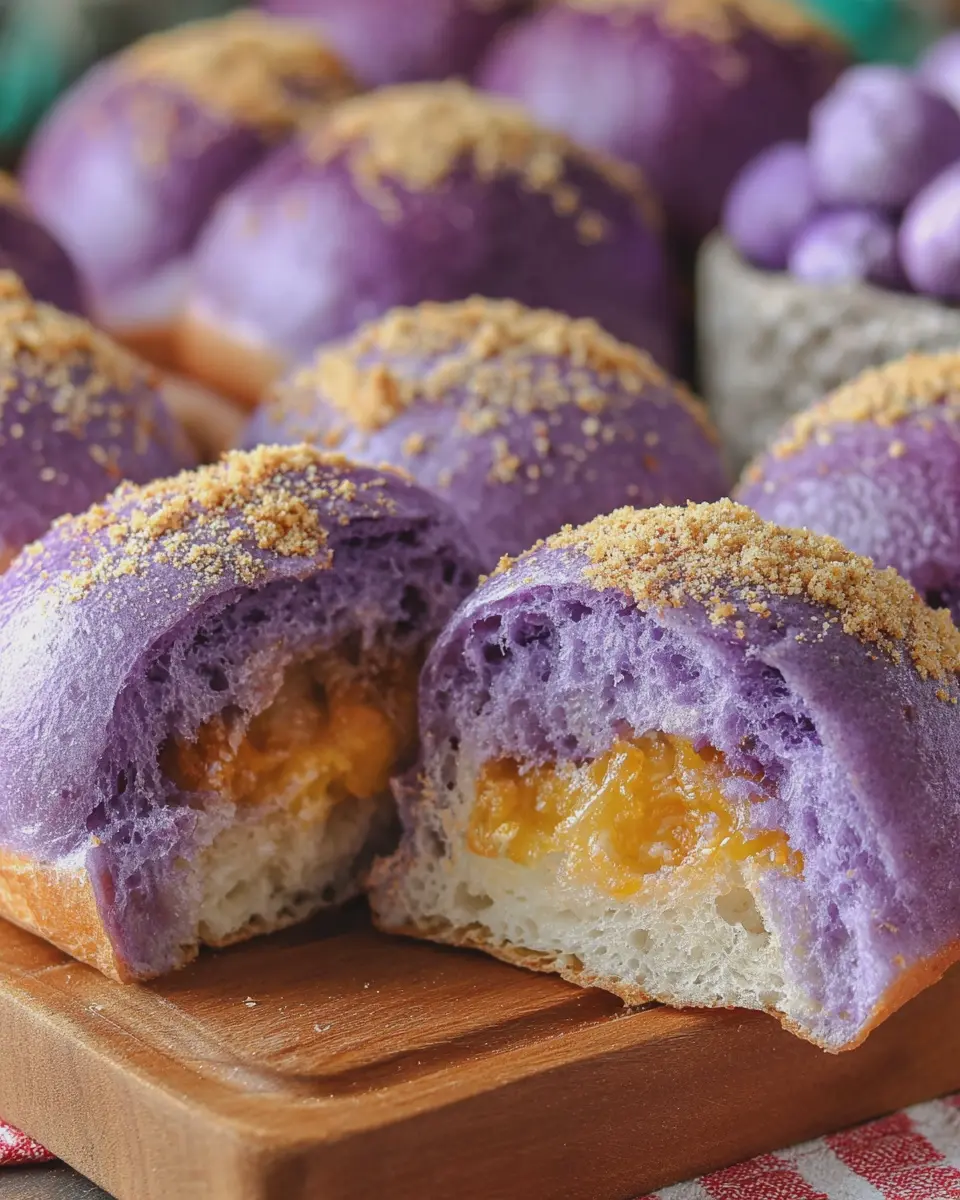

Ube Cheese Pandesal: The Best Soft and Flavorful Twist
- Total Time: 1 hour 40 minutes
- Yield: 12 pieces
Description
Ube Cheese Pandesal is a delightful Filipino bread that combines sweet ube and savory cheese for a unique twist on a classic favorite.
Ingredients
- 2 cups all-purpose flour
- 1 cup ube halaya
- ¼ cup sugar
- ½ cup warm milk
- 2 ¼ teaspoons instant yeast
- ¼ cup unsalted butter, softened
- ½ teaspoon salt
- 1 cup shredded cheese
- 1 egg
Instructions
- In a bowl, combine warm milk and yeast; let it sit for 5 minutes.
- Add flour, sugar, ube halaya, butter, salt, and egg to the mixture; knead until smooth.
- Cover the dough and let it rise for 1 hour, or until doubled in size.
- Once risen, divide the dough into small balls and place them on a baking sheet.
- Fill each ball with shredded cheese.
- Let the balls rise for another 30 minutes.
- Preheat the oven to 350°F (175°C) and bake for 15-20 minutes.
- Cool before serving.
Notes
- For a richer flavor, use a mix of cream cheese and cheddar cheese.
- Experiment with different fillings to add variety.
- Prep Time: 20 minutes
- Cook Time: 20 minutes
- Category: Bread
- Method: Baking
- Cuisine: Filipino
Nutrition
- Serving Size: 1 piece
- Calories: 200
- Sugar: 5g
- Sodium: 150mg
- Fat: 8g
- Saturated Fat: 4g
- Unsaturated Fat: 2g
- Trans Fat: 0g
- Carbohydrates: 30g
- Fiber: 1g
- Protein: 6g
- Cholesterol: 20mg