Introduction to Homemade Chocolate Pudding
Making homemade chocolate pudding is one of those delightful kitchen experiences that truly brings comfort and nostalgia. Do you remember tearing into those little pre-packaged cups as a kid? While there’s certainly a time and place for nostalgia, what if I told you that creating this classic dessert can be just as quick and infinitely more satisfying?
A Classic Dessert that Comes Together in Minutes
In less than 15 minutes, you can whip up a luscious, velvety pudding that will leave your taste buds dancing. The ingredients are simple: cocoa powder, sugar, cornstarch, milk, and a hint of vanilla to elevate the flavor. Just mix everything together, heat it gently, and watch the magic happen as the pudding thickens. It’s a straightforward process that can fit neatly into a busy weeknight—just like my mom did when I was growing up. I still remember the sweet aroma wafting through the house as it cooked on the stove, and the joy of diving into a bowl of homemade goodness afterward.
The Comfort of Homemade vs. Store-Bought Pudding
You might be wondering, why go through the effort when store-bought options are so readily available? The truth is, homemade chocolate pudding has an unparalleled richness and depth of flavor that you simply can’t find in those plastic cups. When you make it from scratch, you control the sweetness and can tweak the chocolate intensity to suit your taste. Plus, there’s something undeniably fulfilling about making dessert with your own two hands, don’t you think? It elevates the simple act of indulging into a treasured moment of self-care. So, gather your ingredients, and let’s savor the experience together!
Why You’ll Love This Easy Chocolate Pudding Recipe
Rich, Creamy Texture that Melts in Your Mouth
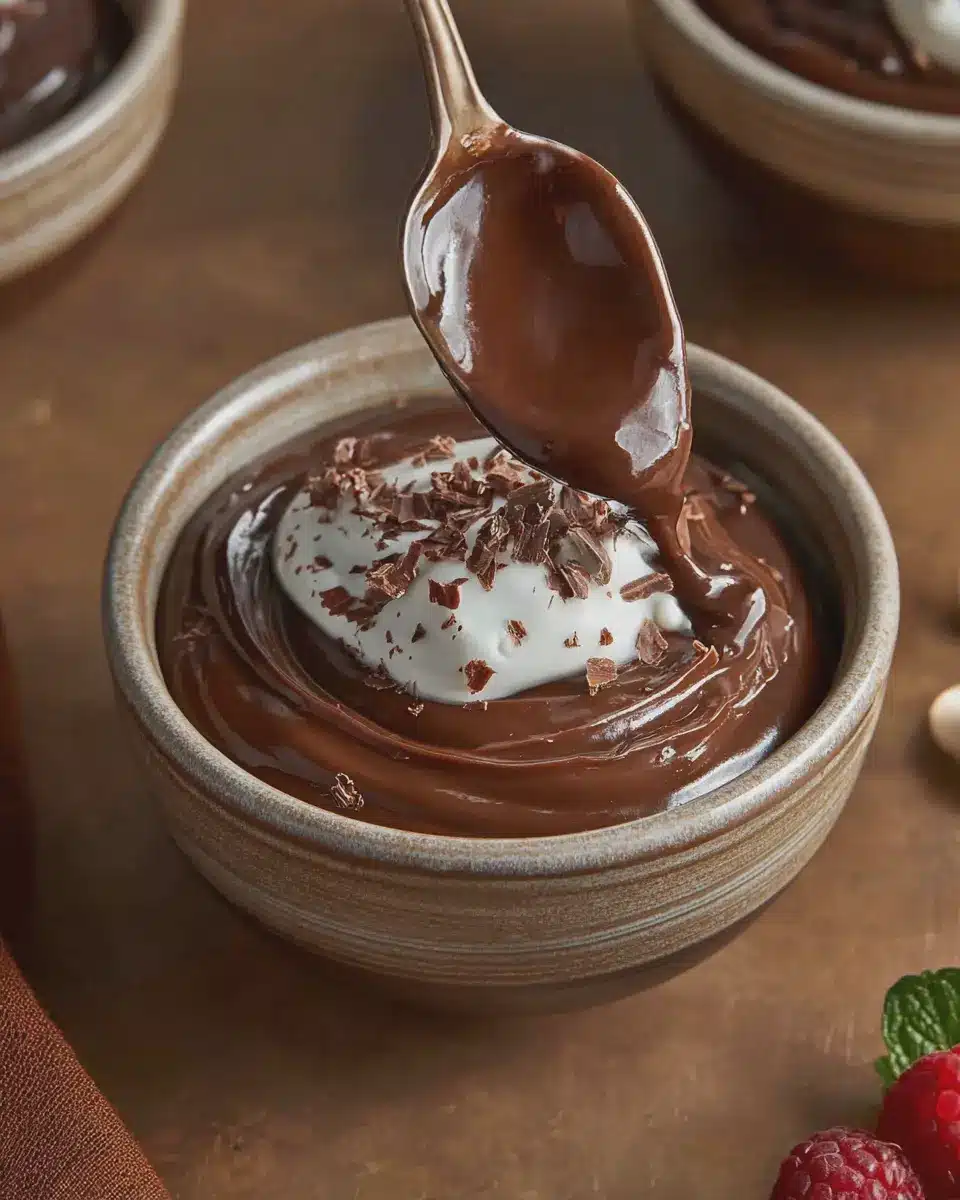
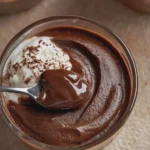
What’s the first thing you think of when you hear chocolate pudding? For me, it’s that velvety texture—a rich, creamy delight that envelops your taste buds like a warm hug. Every spoonful is a moment of indulgence, where the smoothness mingles with that deep, chocolatey flavor. It’s hard not to smile when that silky goodness melts into happiness on your palate. And hey, if you let it chill a bit longer, you’ll find a slight cooling sensation that makes it even more irresistible.
Quick Preparation for Busy Families
Life can be hectic, right? Between kids' schedules, work commitments, and keeping the house in order, finding time to whip up a dessert can sometimes feel impossible. That’s why this easy chocolate pudding recipe is a game changer. With just a handful of ingredients and minimal preparation, you’ll have a delightful dessert ready in no time. Seriously, you can have it prepared and on the stove before the kids even finish their homework! Plus, it’s a delightful excuse to gather everyone in the kitchen for a little quality time together.
Versatile Dessert for Any Occasion
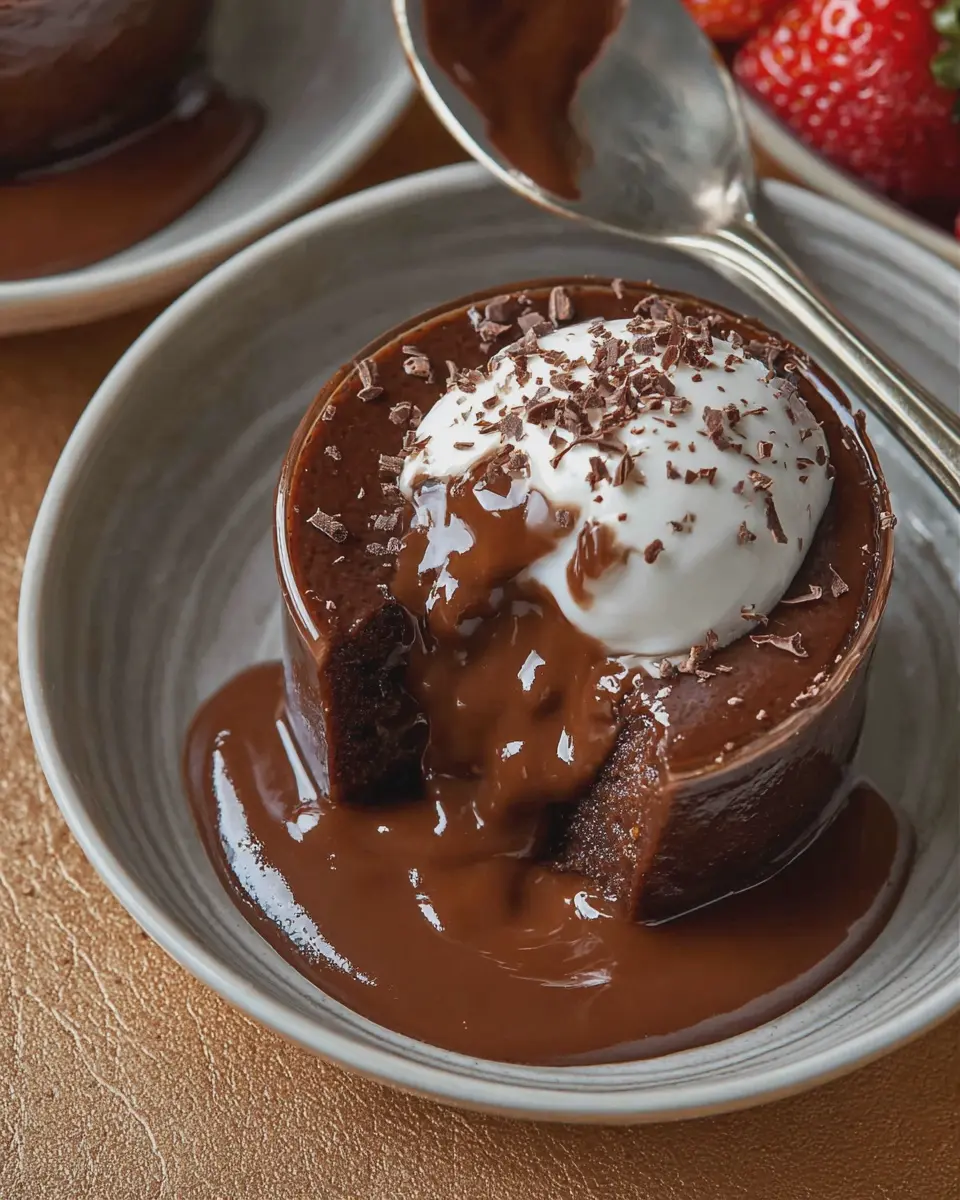
Whether you’re celebrating a birthday, hosting a dinner party, or just winding down after a long day, this homemade chocolate pudding fits right in. You can dress it up with whipped cream and fresh berries for an elegant touch or keep it simple in little cups for a casual family dessert. Want to get creative? Try layering it with cookie crumbs or banana slices for a fun twist. The versatility here is endless, making it just as loved by the kids as it is by the adults. It consistently earns a spot on our family’s dessert rotation, and I can promise you’ll be tempted to make it again and again! Want to make it gluten-free? Just swap the cornstarch for a gluten-free option—easy peasy!
So, are you ready to bring this comforting delight into your home? Every bite is a reminder of how simple ingredients can create magic in the kitchen. Enjoy every moment spent making—and savoring—this cozy dessert!
Essential Ingredients for Chocolate Pudding
Key Ingredients that Create the Perfect Pudding
Creating homemade chocolate pudding is all about using the right blend of ingredients that come together to deliver that rich, velvety texture we all crave. Here's what you absolutely need:
-
Cocoa Powder: This forms the base of our pudding, so opt for high-quality unsweetened cocoa powder. Trust me, it makes a world of difference in flavor!
-
Granulated Sugar: It balances the bittersweet cocoa. You can adjust the sugar based on your sweetness preference, but don’t skimp too much—chocolate loves a little sweetness.
-
Cornstarch: This magical ingredient helps thicken our pudding to that creamy consistency we adore. If you’re gluten-free, this is your best friend!
-
Milk: Whole milk is my go-to because it adds richness, but you can use any milk you prefer, including plant-based options like almond or oat milk for a lighter version.
-
Butter: A couple of tablespoons of unsalted butter at the end adds that luxurious touch. Yes, it’s worth it!
Don’t forget a pinch of salt to enhance all those chocolate notes!
Optional Ingredients for an Extra Flavor Boost
Want to level up your chocolate pudding? Consider adding a few optional ingredients:
-
Vanilla Extract: A splash goes a long way in deepening the flavor and enhancing the chocolate.
-
Espresso Powder: Just a teaspoon can amplify that chocolate taste, making it incredibly rich and decadent without tasting like coffee.
-
Chocolate Chips: Stir in some semi-sweet or dark chocolate chips while the pudding is still warm for delightful melty pockets throughout.
-
Nutmeg or Cinnamon: A dash of either can add warmth and interest if you want to venture beyond traditional flavors.
Remember, with homemade chocolate pudding, it’s all about personalizing the ingredient list to suit your taste. So, don’t shy away from experimenting!
And if you’re ever in doubt, feel free to check out tips from trusted sources like Serious Eats for additional insights. Happy pudding-making!
Kitchen Tools You’ll Need for This Recipe
When it comes to creating the silkiest homemade chocolate pudding, having the right tools can make all the difference. Let me guide you through the essential cooking tools that you'll need for a successful pudding experience.
Essential Cooking Tools for a Successful Pudding
- Mixing Bowls: A set of mixing bowls in various sizes is vital. Choose glass or stainless steel, as they help in achieving the right textures without absorbing flavors.
- Whisk: A sturdy whisk is your best friend here. It ensures your ingredients blend seamlessly and helps in avoiding those pesky lumps!
- Saucepan: A heavy-bottomed saucepan is perfect for even heating. It prevents the chocolate from scorching, so your pudding remains rich and velvety.
- Fine Mesh Sieve: This is optional but highly recommended. Straining your pudding mixture through a sieve can help achieve that ultra-smooth consistency. Trust me, it’s worth it!
Recommended Equipment for Smooth Results
To take your pudding to the next level, consider these extra pieces of equipment:
- Spatula: A silicone spatula is great for scraping down the sides of your saucepan and getting every bit of that delicious pudding mixture out. No waste, all flavor!
- Heatproof Measuring Cups: These are essential, especially when working with hot liquids. They’ll save you from spills and make pouring much easier.
Want to make sure your pudding comes out perfectly every time? Knowing how to use these tools can elevate your homemade chocolate pudding from good to extraordinary!
Step-by-Step Instructions for Making Easy Chocolate Pudding
Step 1: Combine Dry Ingredients for a Smooth Base
Let’s start our homemade chocolate pudding adventure by laying a solid foundation. Gather your dry ingredients: granulated sugar, unsweetened cocoa powder, cornstarch, and a pinch of salt. I'll always stress the importance of sifting your cocoa powder and cornstarch. Trust me, doing this prevents those pesky lumps from sneaking into your pudding later on.
In a medium mixing bowl, whisk together:
- ½ cup granulated sugar
- ¼ cup unsweetened cocoa powder (sifted)
- 2 tablespoons cornstarch (also sifted)
- A pinch of salt
Combining these ingredients is like setting the stage for a beautiful performance when the flavors all come together. The sugar balances the bitterness of the cocoa powder, while the cornstarch will act as our thickening agent. It’s the simple things that make the biggest difference in how our final dessert will taste!
Step 2: Whisk Together with Half and Half Over Medium Heat
Now that we have a smooth base, it’s time to introduce our wet ingredients, and that’s where the magic starts to happen! Pour in 2 cups of half and half, which adds that luscious creaminess we all crave in homemade chocolate pudding.
Using a whisk, combine your dry mixture with the half and half in a medium saucepan. Keep the heat over medium; we don’t want to rush things here. Gentle stirring is key! This is where the lovely aroma of chocolate begins to fill your kitchen — doesn't that make your heart flutter?
As you whisk, be sure to scrape down the sides of the pan to incorporate every last bit of dry mixture. It's all about consistency here. Before you know it, you’ll start to see the pudding thicken as it heats.
Step 3: Achieve the Perfect Thickness at Simmering Point
Here comes the exciting part — watching your pudding come to life! Keep your mixture over medium heat, stirring continuously until it starts to bubble. This typically takes about 7-10 minutes. You want a gentle simmer; a vigorous boil can ruin the silky texture we’re after.
Once you notice those little bubbles forming, you should be right on track. Continue to whisk until the pudding thickens and coats the back of a spoon — a great texture indicator. If you happen to overheat it, don’t sweat it! Just remove it from the heat and keep whisking; it will still come together beautifully.
Step 4: Cool and Serve for Maximum Enjoyment
You’ve done all the hard work, so now it’s time to let your chocolate pudding cool down. Remove the saucepan from the heat and stir in 1 teaspoon of vanilla extract for an aromatic finish. This is the moment to take a deep breath and revel in the rich, chocolatey scent filling your kitchen.
Next, pour the pudding into serving bowls or cups, and cover each with plastic wrap, ensuring the wrap is in direct contact with the surface of the pudding to prevent a skin from forming. This is where you'll want to exercise a bit of patience — let it chill in the refrigerator for at least 2 hours.
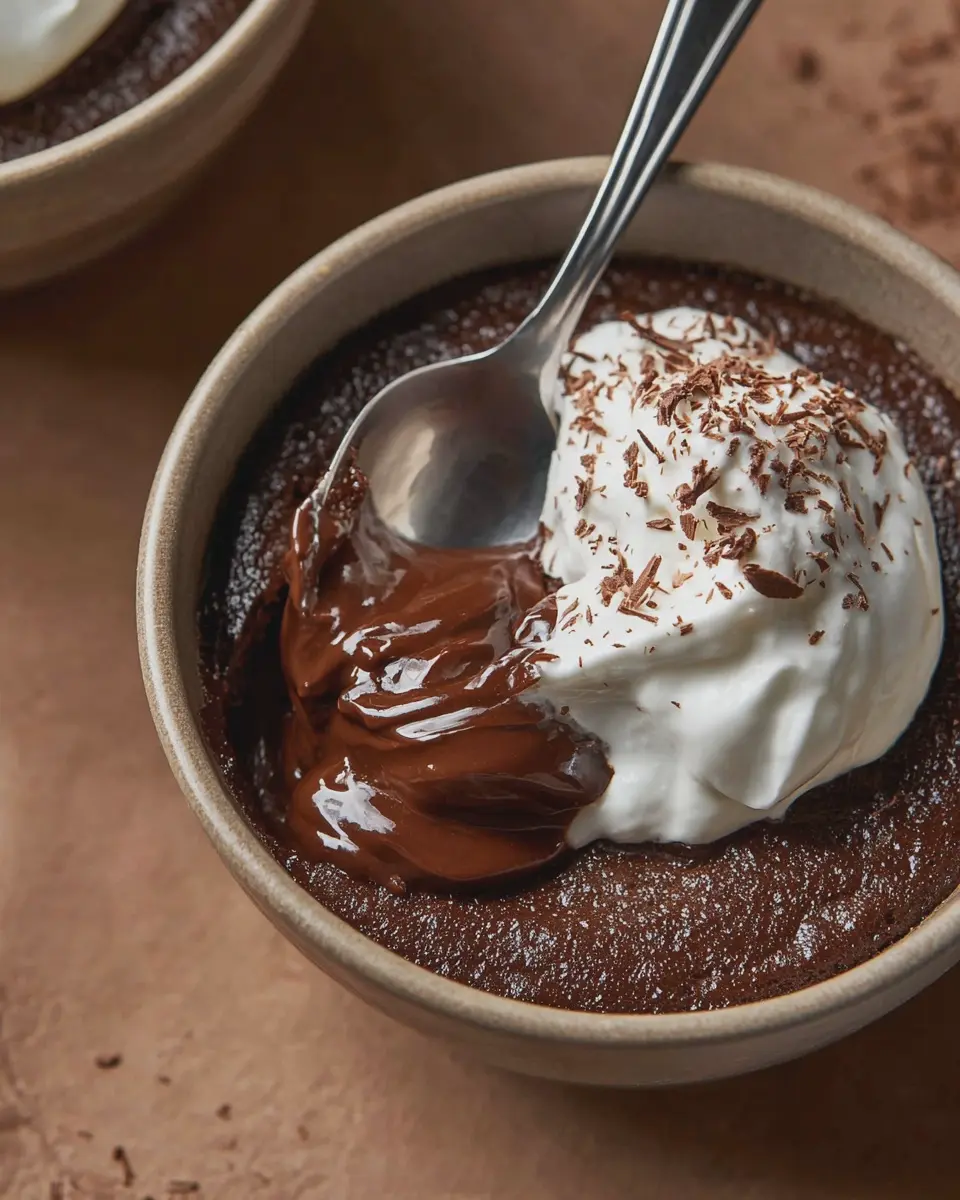
When it’s time to serve, consider topping your pudding with whipped cream or fresh berries for that extra touch. Each spoonful is a little bite of nostalgia, reminiscent of those cozy, carefree childhood days when dessert was the highlight of the day. Trust me, your friends and family will thank you for sharing this deliciously comforting treat!
Homemade Chocolate Pudding that’s Rich, Creamy, and Comforting
- Total Time: 25 minutes
- Yield: 4 servings
- Diet: Vegetarian
Description
This homemade chocolate pudding is a deliciously rich and creamy dessert that brings comfort and nostalgia to any table.
Ingredients
- 2 cups whole milk
- ½ cup granulated sugar
- ¼ cup unsweetened cocoa powder
- ¼ cup cornstarch
- ¼ teaspoon salt
- 2 tablespoons unsalted butter
- 1 teaspoon vanilla extract
Instructions
- In a medium saucepan, whisk together the milk, sugar, cocoa powder, cornstarch, and salt until well combined.
- Heat the mixture over medium heat, stirring constantly until it thickens and begins to boil.
- Once boiling, continue to cook for an additional 2 minutes, stirring constantly.
- Remove from heat and stir in the butter and vanilla extract until smooth.
- Pour the pudding into individual serving dishes and let it cool at room temperature before refrigerating for at least 2 hours.
- Serve chilled, topped with whipped cream if desired.
Notes
- For an extra rich flavor, use dark chocolate instead of cocoa powder.
- Make sure to stir constantly to prevent lumps.
- Prep Time: 10 minutes
- Cook Time: 15 minutes
- Category: Dessert
- Method: Stovetop
- Cuisine: American
Nutrition
- Serving Size: ½ cup
- Calories: 250
- Sugar: 25g
- Sodium: 150mg
- Fat: 10g
- Saturated Fat: 5g
- Unsaturated Fat: 3g
- Trans Fat: 0g
- Carbohydrates: 40g
- Fiber: 2g
- Protein: 5g
- Cholesterol: 20mg