
Deliciously Flaky Homemade Apple Hand Pies: The Perfect Dessert to Make at Home
Warm aromas that evoke childhood memories
There’s something undeniably magical about the scent of apples baking in the oven. As the warm aromas waft through your home, they have a way of tugging at the heartstrings, bringing back memories of family gatherings and cozy afternoons spent in the kitchen. Picture this: you’re rolling out dough at the counter, the apples simmering gently on the stove, and suddenly you’re transported back to your childhood, where you’d help Grandma make her famous apple pies.
Homemade apple hand pies are not just a dessert; they're a slice of nostalgia served with a flakey, buttery crust. The blend of cinnamon and sugar mingles beautifully with the sweet and tart apples, creating an olfactory delight that makes it impossible to resist sneaking a taste even before they cool down.
A sweet twist on a classic dessert
While classic apple pie will always hold a special place in my heart, there's something incredibly charming about hand pies. They're perfectly portable, making them an ideal treat for picnics or a sweet snack on the go. Plus, their individual size makes them feel like a special gift, just waiting to be unwrapped.
Making these homemade apple hand pies is easier than you might think. You can use store-bought dough to save time, but there's an undeniable joy in crafting your own flaky pastry. A tip? Ensure your butter is cold; it helps build those lovely layers that create that perfect texture. If you want to mix it up, try using different apples for varying flavors—Honeycrisp and Granny Smith are my go-tos for the perfect balance of sweetness and tart.
So, roll up your sleeves and get ready to create some warm, comforting hand pies that’ll spark joy for yourself and your loved ones. These delectable treats are sure to become a cherished staple in your dessert repertoire.
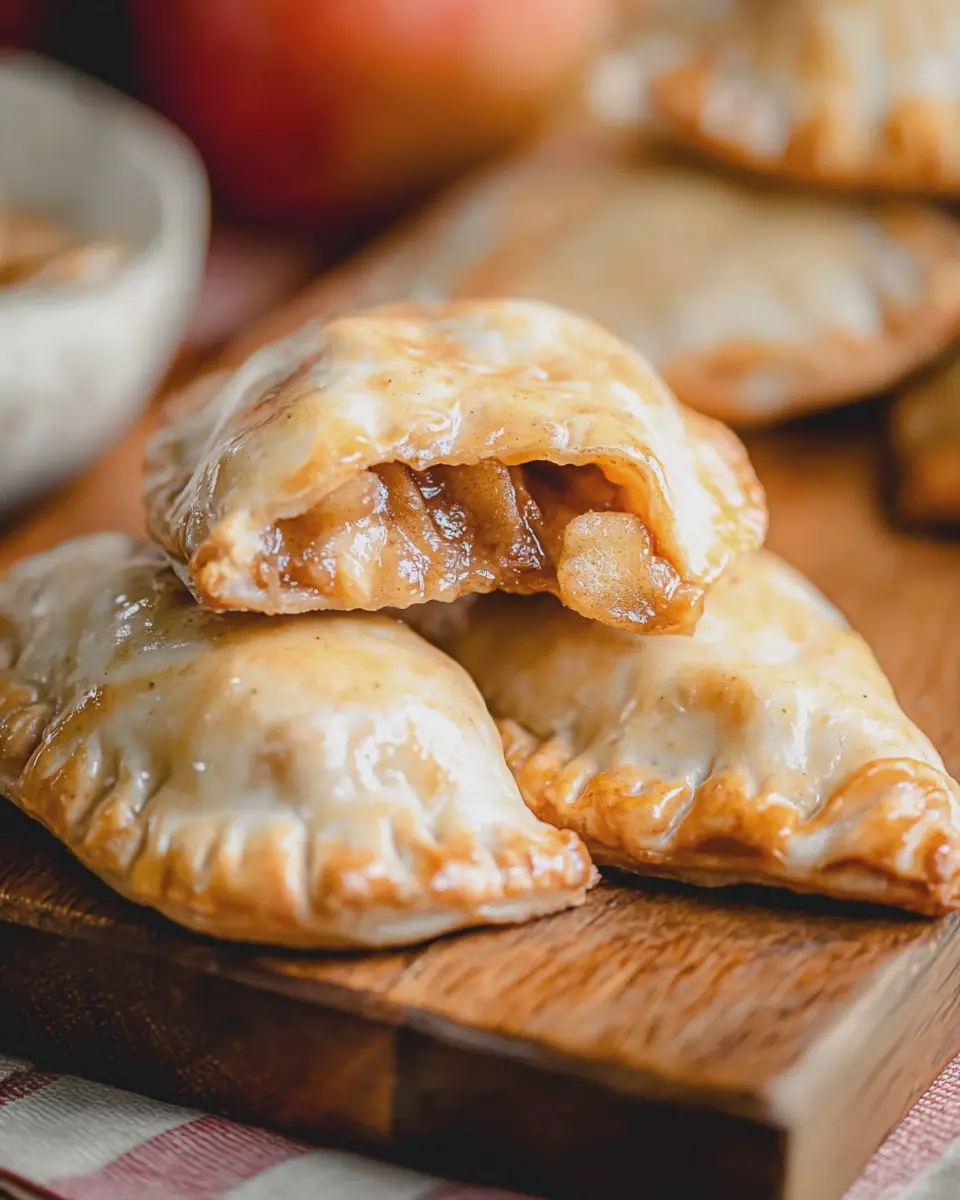
Ingredients You’ll Need for Homemade Apple Hand Pies
When it comes to making the best homemade apple hand pies, having the right ingredients is key. Let’s break down what you’ll need to create those delightful pockets of deliciousness.
Essential ingredients for the filling
For the sweet, spiced filling that dances on your taste buds, you’ll want:
- Apples: About 4 medium-sized ones. Varieties like Granny Smith or Honeycrisp deliver a perfect balance of tartness and sweetness.
- Sugar: A mix of white and brown sugar (½ cup total) brings out the natural sweetness of the apples while adding a hint of caramel flavor.
- Cinnamon: Just a teaspoon or two. This spice really warms up the filling and evokes that comforting autumn vibe.
- Lemon juice: A tablespoon to brighten the flavors and prevent browning.
- Cornstarch: For thickening the filling (around 1-2 tablespoons) to avoid a soggy hand pie, which is a common pitfall!
Feel free to experiment with other spices like nutmeg or allspice for added depth!
The perfect crust for flaky hand pies
Now, let’s talk crust. A flaky, golden crust can make all the difference in your homemade apple hand pies. Here’s what you’ll need:
- All-purpose flour: About 2 ½ cups. This forms the backbone of your crust.
- Unsalted butter: 1 cup, chilled and diced. Using cold butter is crucial for flakiness—trust me, you’ll thank yourself later.
- Salt: Just a teaspoon to balance the flavors.
- Sugar: A tablespoon in the crust sweetens it just enough without overpowering the filling.
- Ice water: Around 6-8 tablespoons. This keeps everything cool and helps bind the dough together.
Pro tip: The secret to a perfect crust is to avoid overworking the dough. Just mix until combined for that irresistible flakiness.
These ingredients will surely take your apple hand pies to the next level! Don’t forget to gather everything before you start, as having your ingredients ready will make the cooking process much smoother and more enjoyable. Happy baking! 🍏
Step-by-Step Instructions for Crafting Apple Hand Pies
Step 1: Preparing the filling for a fresh flavor burst
Let’s kick things off by creating that delightful apple filling. Start with about six medium-sized apples; my go-to are Granny Smiths mixed with Honeycrisps. The tartness of Granny Smith paired with the sweetness of Honeycrisps makes for a perfectly balanced filling.
Peel, core, and chop the apples into small cubes—think bite-sized because you want them to fit nicely inside your hand pies. As you chop, toss the pieces into a bowl and sprinkle them with a mix of ½ cup brown sugar, 1 teaspoon ground cinnamon, a pinch of nutmeg, and 2 tablespoons of lemon juice. The lemon juice not only prevents browning but also enhances the flavor. Give everything a good stir to ensure the apples are evenly coated.
Let the filling sit for about 10-15 minutes. This waiting time allows the apples to release their juices, which will create that wonderful syrupy essence that will bubble up in the oven—it’s basically comfort in a bite.
Step 2: Rolling out and cutting the pie crust
While the filling is marinating, it’s time to focus on the star of the show: the pie crust! Store-bought crust can work in a pinch, but I recommend making your own if you have the time—there’s something magical about a homemade crust.
Grab about 2 cups of all-purpose flour and mix in a pinch of salt. Cut in ½ cup of cold cubed butter until the mixture resembles coarse crumbs—don't be afraid to get your hands in there! For a smoother texture, you can pulse it in a food processor. Add about 6-8 tablespoons of ice-cold water, one tablespoon at a time, until a dough forms.
Divide the dough in half, shape each half into a disc, and wrap them in plastic wrap. Let them chill in the fridge for at least 30 minutes. This step is crucial as it helps develop flakiness in your crust.
Once chilled, dust your countertop with flour and roll out one disc of dough to about ⅛ inch thick. Using a round cutter (approximately 4 inches in diameter), cut out circles. Gather any scraps, re-roll them, and cut out additional circles.
Step 3: Assembling your hand pies with love
Now for the fun part! Preheat your oven to 400°F (200°C) while you prepare your hand pies. Take your dough circles and place them on a baking sheet lined with parchment paper.
Spoon about a tablespoon of your apple filling into the center of each circle. Be careful not to overfill; you’ll want to leave some space around the edges for sealing. Using your finger or a brush, dab a little water around the edges. This wetness acts like glue to help seal the pies.
Fold the dough over to create a pocket and press the edges with a fork to seal them shut. Not only does it create a charming look, but it also ensures no delicious apple filling escapes during baking. For an extra touch, you can make small slits on top of each hand pie to allow steam to escape.
Step 4: Baking to golden perfection
Now, it’s time to get those beauties in the oven! Beat one egg and brush it over the tops of the hand pies to give them that lovely, golden sheen.
Bake for 20-25 minutes or until the crust is beautifully golden brown. The aroma that fills your kitchen during this time will be pure bliss. As they bake, resist the urge to peek too often; you'll want them to cook evenly.
Once out of the oven, let them cool on a wire rack for a few minutes. They’re best enjoyed warm, right after baking. Pair them with a scoop of vanilla ice cream, and you’ll find yourself in apple-pie heaven.
And there you have it—your very own homemade apple hand pies! Don’t forget to share a few with friends or family, but I won’t blame you if you keep them all to yourself. Enjoy!

Expert Tips for Perfecting Your Homemade Apple Hand Pies
Ensuring the crust is flaky and delicious
Creating a flaky, melt-in-your-mouth crust is the foundation of any great homemade apple hand pies. Start by using cold ingredients. I always stash my butter in the freezer for about 15 minutes before I start making the dough. This simple step makes a world of difference! When cutting in the butter, aim for pea-sized pieces. This creates pockets of steam during baking, ensuring you get that delightful flakiness.
Another expert tip? Allow the dough to rest in the fridge for at least 30 minutes before rolling it out. This helps relax the gluten, resulting in a tender crust. When rolling, strive for an even thickness, about ⅛ inch works beautifully. If you notice the dough sticking, don’t hesitate to sprinkle a bit of flour on your work surface.
Getting the filling just right
Now, let’s talk filling! The key to a fantastic apple filling is balance—between sweetness, tartness, and texture. I love using a mix of sweet apples like Fuji or Gala combined with a touch of tart Granny Smith. This mix not only enhances the flavor but also keeps the filling from being overly mushy.
For spices, a dash of cinnamon and nutmeg pairs perfectly with the apples. Consider adding a squeeze of lemon juice to brighten up the flavors! While cooking the apples slightly before filling helps reduce moisture—preventing that dreaded soggy bottom—make sure to let them cool before assembling. Nobody wants steam trapped inside their lovely hand pies!
Remember, it's all about trial and error. You might need to adjust sugar levels depending on apple variety, but don’t worry—adjustments are part of the joy of cooking. Happy baking!
Variations & Substitutions for Customizable Hand Pies
Creating Homemade Apple Hand Pies opens the door to endless culinary creativity! Let’s explore some delightful ways to customize your pies, ensuring they fit every season and preference.
Alternative fruits for a seasonal twist
Why stick with just apples when you can experiment with other fruits? Pears bring a softer, sweeter note, while cherries add a tart burst that’s absolutely heavenly. In late summer, try juicy peaches for a classic combo of sweet and fragrant. If you’re feeling adventurous, how about a mix? A delightful berry medley combining strawberries, blueberries, and raspberries can create a pop of color and flavor that’s perfect for gatherings. This seasonal twist ensures your hand pies can suit any occasion!
Gluten-free and vegan options to consider
Catering to different dietary needs is easier than you think! For a gluten-free version, simply swap out regular flour for a gluten-free blend. Make sure the blend has xanthan gum to achieve that flaky crust we all love. If you prefer a vegan option, use coconut oil or vegan butter for that rich, buttery flavor, and replace the egg with a flaxseed mixture (1 tablespoon of ground flaxseed mixed with 2.5 tablespoons of water) to get that lovely golden crust.
These modifications not only make your Homemade Apple Hand Pies more inclusive but also demonstrate how flexible and accommodating homemade cooking can be. Don’t be afraid to play with flavors and textures! Happy baking!
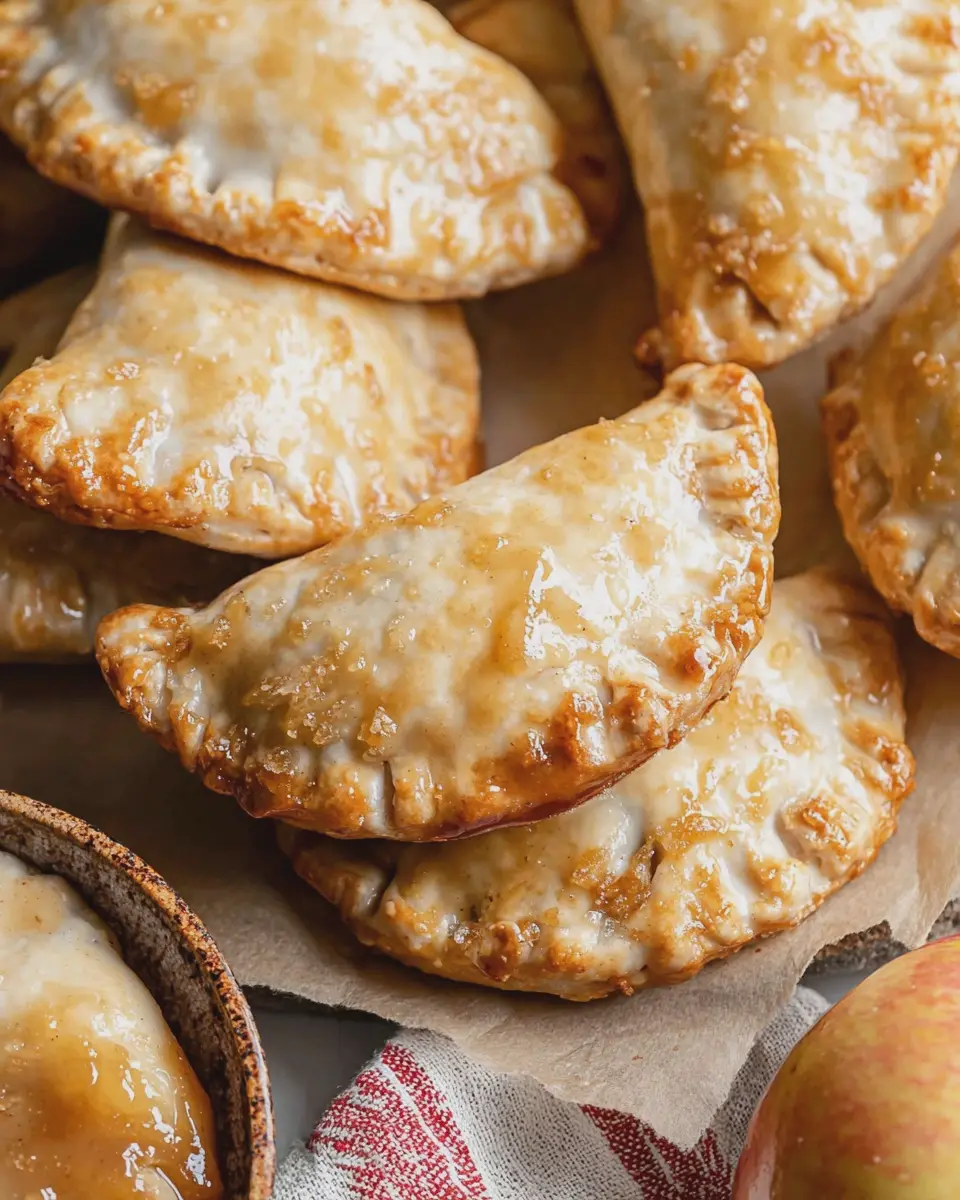

Homemade Apple Hand Pies: The Best Easy Recipe for Fall Bliss
- Total Time: 40 minutes
- Yield: 8 hand pies
- Diet: Vegetarian
Description
These Homemade Apple Hand Pies are the perfect fall treat! They are easy to make and filled with delicious, spiced apples.
Ingredients
- 2 cups diced apples
- ½ cup sugar
- 1 teaspoon cinnamon
- 1 tablespoon lemon juice
- 1 package refrigerated pie crusts
- 1 egg, beaten (for egg wash)
Instructions
- Preheat the oven to 425°F (220°C).
- In a bowl, combine the diced apples, sugar, cinnamon, and lemon juice.
- Roll out the pie crusts and cut them into circles.
- Fill half of each circle with the apple mixture, then fold over and seal the edges.
- Brush the tops with the beaten egg.
- Bake for 15-20 minutes or until golden brown.
- Allow to cool before serving.
Notes
- For extra flavor, you can add nutmeg or a pinch of salt to the apple mixture.
- Serve warm with vanilla ice cream for an extra treat!
- Prep Time: 20 minutes
- Cook Time: 20 minutes
- Category: Dessert
- Method: Baking
- Cuisine: American
Nutrition
- Serving Size: 1 hand pie
- Calories: 200
- Sugar: 12g
- Sodium: 150mg
- Fat: 8g
- Saturated Fat: 2g
- Unsaturated Fat: 4g
- Trans Fat: 0g
- Carbohydrates: 30g
- Fiber: 2g
- Protein: 2g
- Cholesterol: 30mg