Introduction
Are you on the lookout for a dessert that’s both quick to make and absolutely irresistible? You’ve come to the right place! This Easy Coconut Cream Pie recipe is perfect for those moments when you want a show-stopping dessert without spending hours in the kitchen. Whether you’re hosting a family dinner, bringing a treat to a potluck, or just indulging in some self-care baking, this recipe is a surefire way to please every coconut lover.
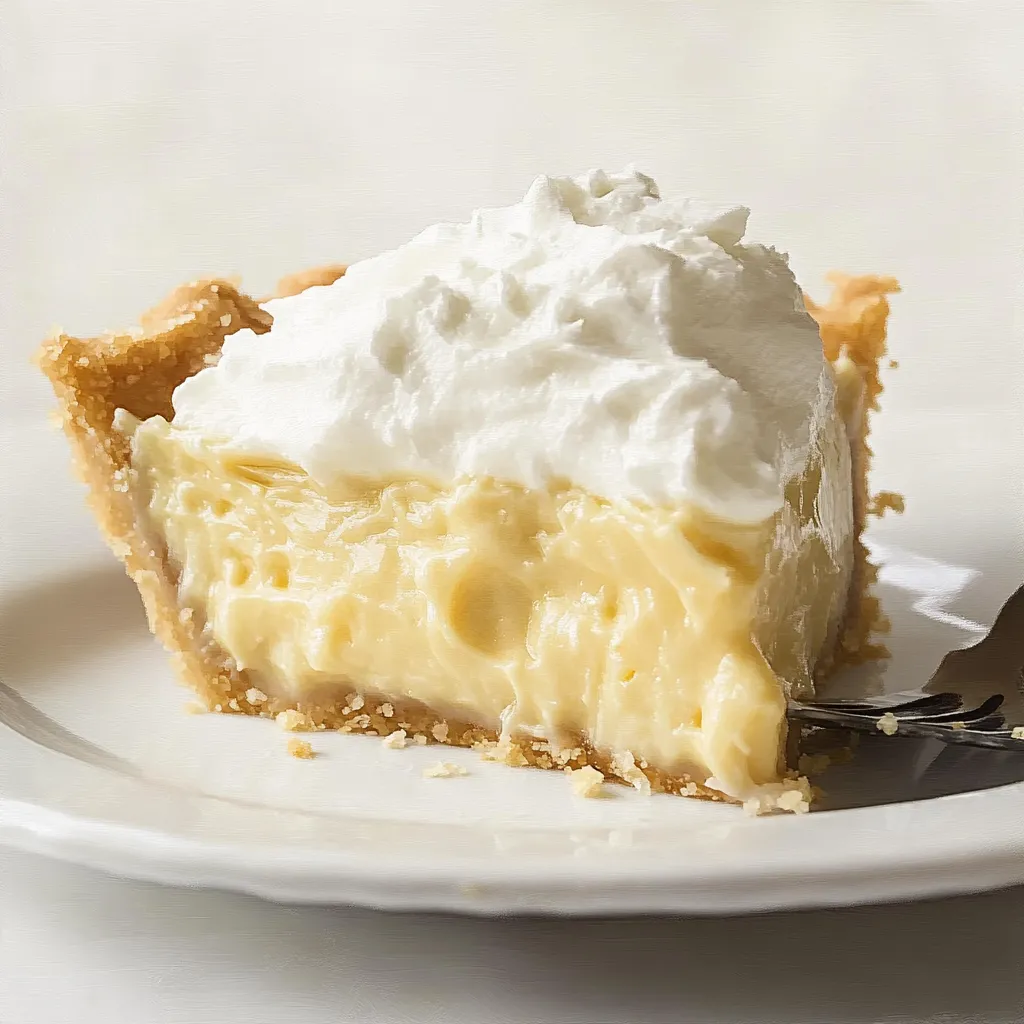
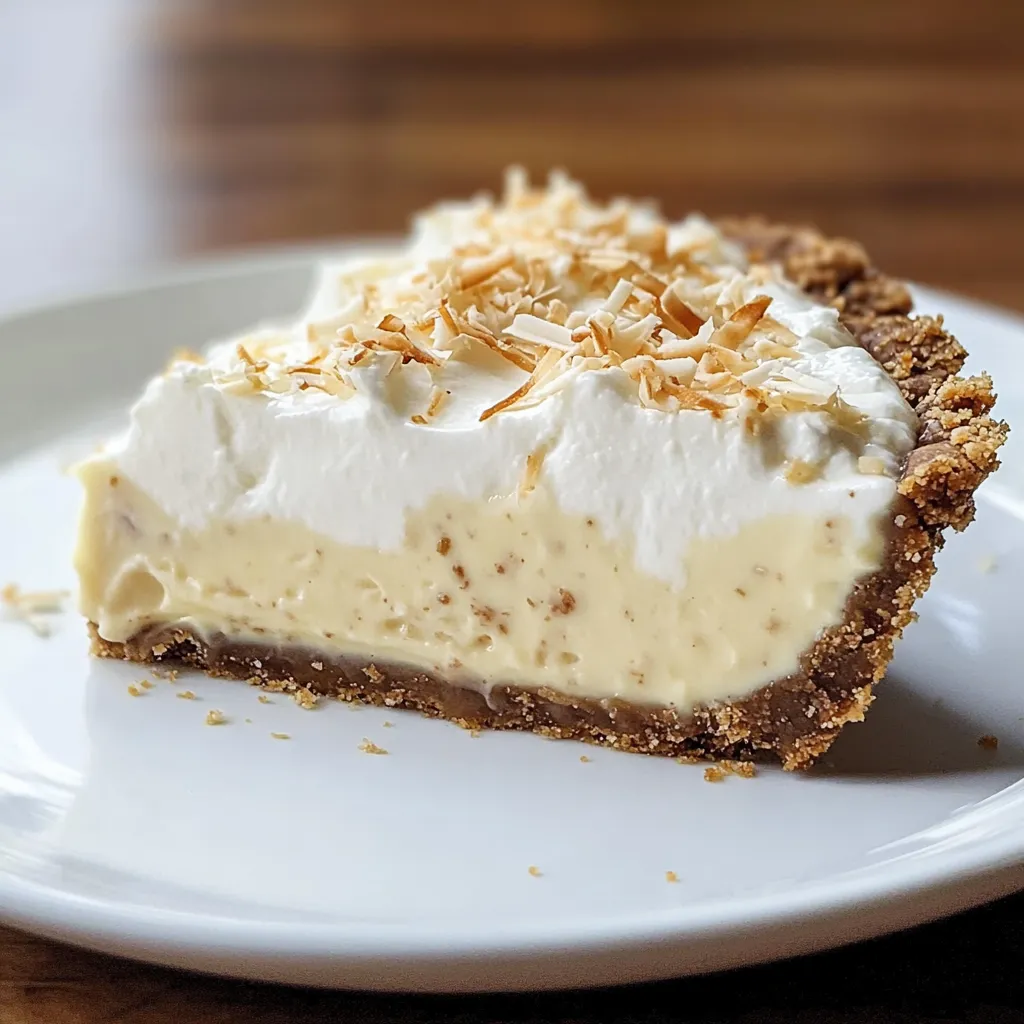
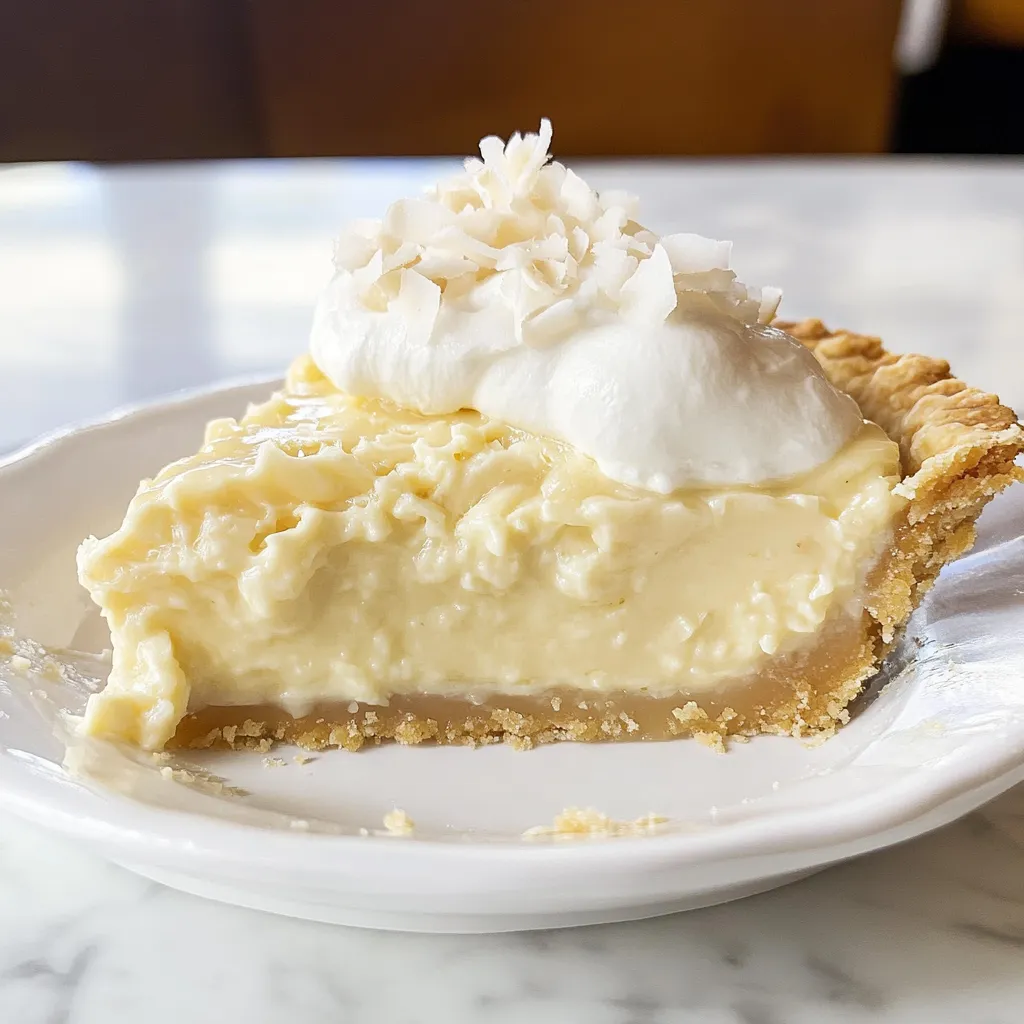
The best part? It’s incredibly beginner-friendly. Even if you’re not a seasoned baker, this recipe will have you feeling like a pro. With its creamy coconut filling, flaky crust, and whipped topping, it’s a guaranteed crowd-pleaser. So, let’s dive into this delicious adventure together—you’ll be surprised at how easy (and fun!) it is to make.
Ingredients You’ll Need
Full List of Ingredients
Before we get started, let’s make sure you have everything you need. Here’s the complete list of ingredients broken down by the different components of the pie.
For the Crust:
- 1 pre-baked 9-inch pie crust (store-bought or homemade).
Coconut Cream Filling:
- 1 cup granulated sugar.
- ¼ cup cornstarch.
- ¼ teaspoon salt.
- 3 cups whole milk.
- 4 large egg yolks.
- 2 tablespoons unsalted butter.
- 1 teaspoon vanilla extract.
- 1 ½ cups sweetened shredded coconut.
Whipped Topping:
- 1 cup heavy whipping cream.
- 2 tablespoons powdered sugar.
- 1 teaspoon vanilla extract.
- Toasted coconut flakes (for garnish).
Pro Tip:
If you’re pressed for time, you can always grab a pre-made graham cracker crust as an alternative to the traditional pie crust. It adds a lovely, subtle crunch!
Substitutions and Variations
Cooking should be flexible, so here are some great substitutions and variations to help you adapt this recipe to your preferences or dietary needs:
1. Dairy-Free Option:
-
- Replace whole milk with almond milk or coconut milk for a dairy-free version.
- Use a dairy-free whipped topping instead of heavy whipping cream.
2. Gluten-Free Alternative:
-
- Swap the pre-baked pie crust for a gluten-free version. Many stores carry gluten-free crusts, or you can make your own using almond flour.
3. Almond Extract Add-On:
-
- Want to elevate the flavor? Add a splash of almond extract to the filling for a nutty twist that complements the coconut beautifully.
4. Extra Coconut Flavor:
-
- For an even richer coconut flavor, substitute half of the milk with canned coconut milk. Trust me, it’s a game-changer!
5. Low-Sugar Version:
-
- Use a sugar substitute like erythritol or stevia in the filling. You can also use unsweetened shredded coconut if you’re looking to cut back on sugar.
Step-by-Step Instructions
Preparing the Coconut Cream Filling
Making the perfect coconut cream filling might sound tricky, but I promise it’s easier than you think. Let’s break it down step-by-step:
- Combine the Dry Ingredients
- Grab a medium-sized saucepan. In it, whisk together 1 cup of granulated sugar, ¼ cup of cornstarch, and ¼ teaspoon of salt. This dry mix forms the base of your filling, so be sure there are no lumps before moving on.
- Add the Milk Gradually
- Slowly pour in 3 cups of whole milk while whisking continuously. This ensures a smooth mixture. Turn your stove to medium heat, and keep stirring to avoid sticking or scorching at the bottom of the pan.
- Cook Until Thickened
- Cook the mixture over medium heat, stirring constantly. You’ll notice it starts to thicken after about 5-7 minutes. Keep going until it reaches a custard-like consistency.
Pro Tip: Use a heat-resistant spatula to scrape the sides and bottom of the pan as you stir. This helps you avoid clumps and ensures a velvety finish!
- Temper the Egg Yolks
- In a small bowl, lightly whisk 4 large egg yolks. Slowly add about 1 cup of the hot milk mixture to the yolks, whisking constantly to temper them. This step prevents the eggs from scrambling when they hit the heat.
- Combine and Cook Again
- Pour the tempered egg yolks back into the saucepan with the rest of the milk mixture. Keep whisking and cook for another 2 minutes. By now, it should be thick, smooth, and ready for the next step.
- Add the Final Touches
- Remove the saucepan from the heat and stir in 2 tablespoons of unsalted butter, 1 teaspoon of vanilla extract, and 1 ½ cups of sweetened shredded coconut. The butter makes it extra creamy, while the coconut gives it that signature flavor.
Friendly Note: It’s okay to sneak a little taste at this point—you deserve it!
Assembling the Pie
Now that you’ve nailed the filling, it’s time to bring everything together. This is the fun part where your pie really starts to take shape.
- Pour the Filling into the Crust
- Take your pre-baked 9-inch pie crust and pour the warm coconut filling into it. Use a spatula to smooth the top so it’s evenly distributed.
- Prevent Skin Formation
- Lay a sheet of plastic wrap directly onto the surface of the filling. This keeps a skin from forming as the pie cools. Trust me, this small step makes a big difference in the final texture.
- Chill Until Set
- Pop the pie into the refrigerator and let it chill for at least 4 hours. Patience is key here—this gives the filling time to set perfectly.
Pro Tip: If you’re prepping ahead, you can make this pie the day before and let it chill overnight. The flavors only get better with time!
Wrapping It Up
And that’s it! Your coconut cream pie is almost ready to serve. Whether you’re a beginner or a seasoned baker, this step-by-step process makes it easy to create a pie that looks and tastes like it came from a fancy bakery. Get ready for rave reviews from everyone lucky enough to grab a slice!
Tips for Perfect Coconut Cream Pie
When it comes to making the perfect coconut cream pie, a few simple tricks can take your dessert from good to absolutely unforgettable. Let’s explore some pro tips and solutions to common problems to ensure your pie turns out beautifully every single time.
Pro Tips
- Toast Your Coconut for Garnish
- Toasting your coconut flakes gives them a golden color, adds a satisfying crunch, and enhances their natural flavor. Simply spread them on a baking sheet and bake at 350°F for 3-5 minutes, keeping a close eye to avoid burning.
- Chill for at Least 4 Hours
- Allowing your pie to set in the refrigerator for a minimum of four hours is crucial. This step ensures the filling firms up nicely, making it easier to slice and serve. If you’re short on time, consider preparing it the night before.
- Use Fresh Ingredients
- Fresh milk, eggs, and coconut make a noticeable difference in flavor. Avoid canned or stale ingredients for the best results.
- Invest in a Good Crust
- A sturdy crust provides the foundation for your pie. Whether you go with homemade or store-bought, ensure it’s fully baked and cooled before adding the filling.
Avoiding Common Mistakes
Even the best cooks can run into trouble. Here’s how to avoid some common pitfalls:
1. Runny Filling?
-
- If your filling isn’t thickening, it’s likely due to undercooking. Make sure you cook the milk mixture long enough to reach a thick, custard-like consistency before tempering the eggs. Stir constantly to prevent lumps or scorching.
2. Soggy Crust?
-
- Always start with a completely cooled crust. Warm crusts can cause the filling to seep in, leading to sogginess. For an extra layer of protection, brush the crust with a thin layer of melted chocolate or egg white before adding the filling.
3. Burnt Coconut Garnish?
-
- Toasting coconut requires close attention. Stay by the oven, and stir it frequently to ensure even browning. Burnt coconut can overpower the delicate flavor of the pie.

